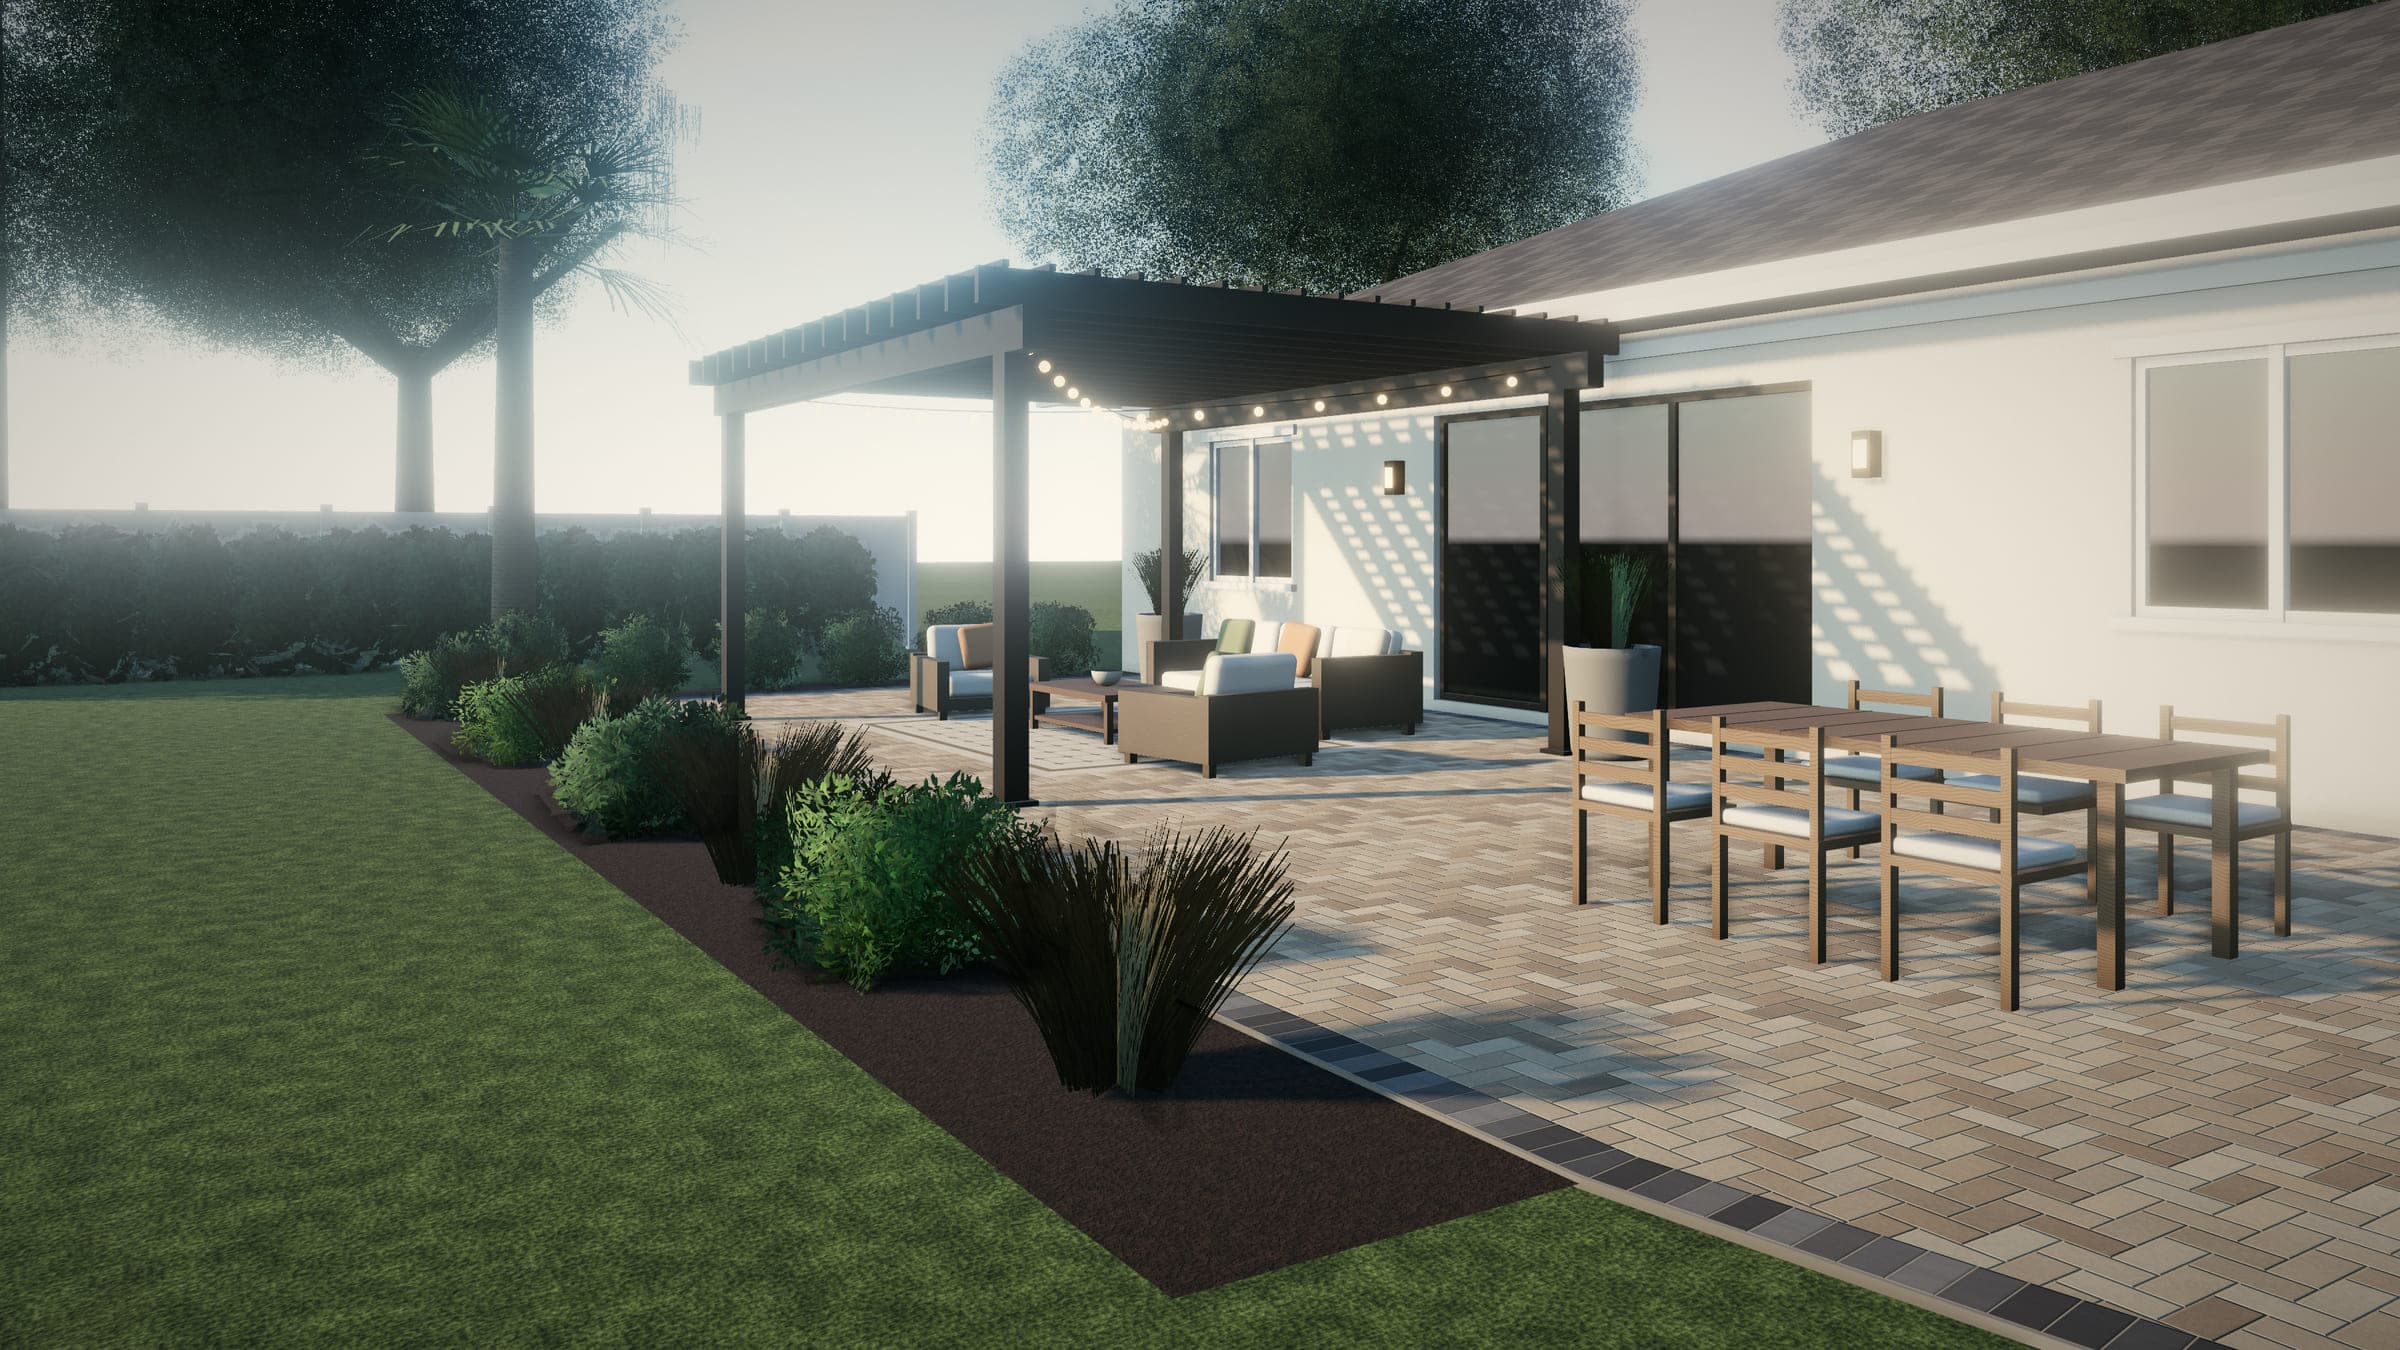
When a new patio makes sense
Many Central Florida homes came with a small concrete slab outside the sliding doors — room for a grill and two chairs, not much more. Over the years that slab may have cracked, settled toward the house, or started holding water after afternoon storms. A new paver patio is a chance to fix those problems and size the space for how you actually live: a seating group for evenings, a table for family dinners, a quiet corner for morning coffee.
Pavers suit Florida patios for practical reasons. They sit on a flexible, compacted base rather than being poured as one slab, so small movements don't become long cracks. If an area ever settles, or a line underneath needs repair, the pavers can be lifted, the base corrected, and the same pavers reinstalled.
Planning the layout
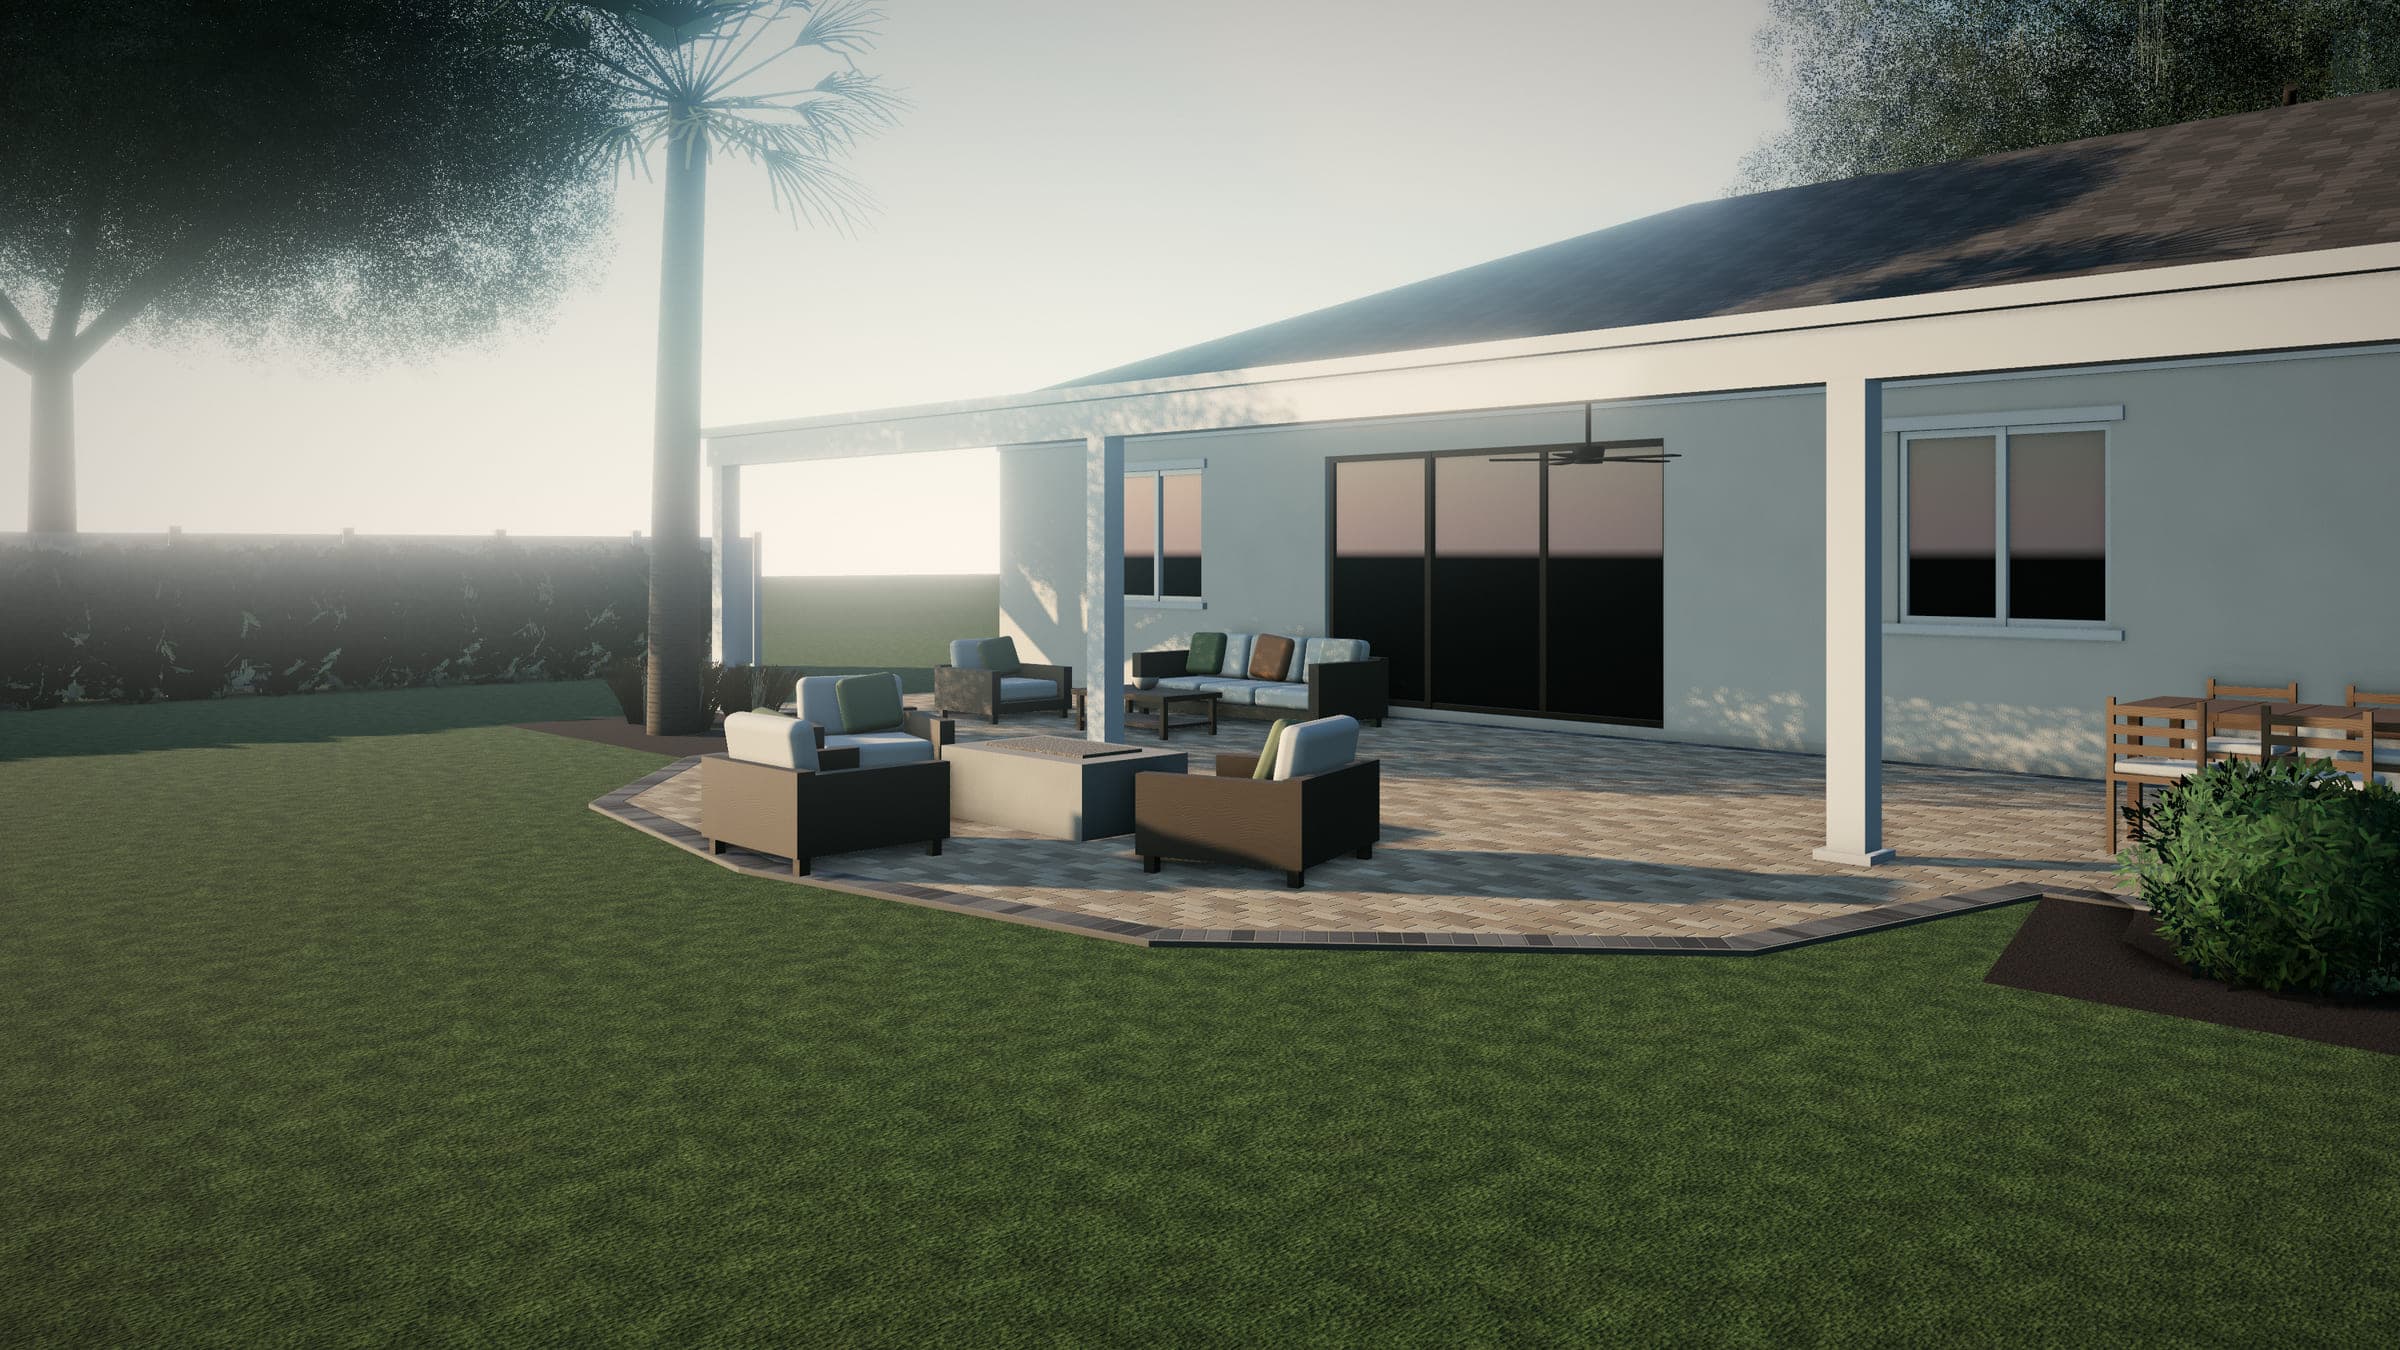
Good patios are designed around furniture and flow, not a rectangle that happens to fit the yard.
- Seating and dining. Decide what has to fit, then add room to walk around it. A patio that is only as big as the furniture feels crowded the first time guests stand up.
- A clear path. Keep an open route from the door to the yard, the grill, and the pool or lawn so people aren't walking through the conversation.
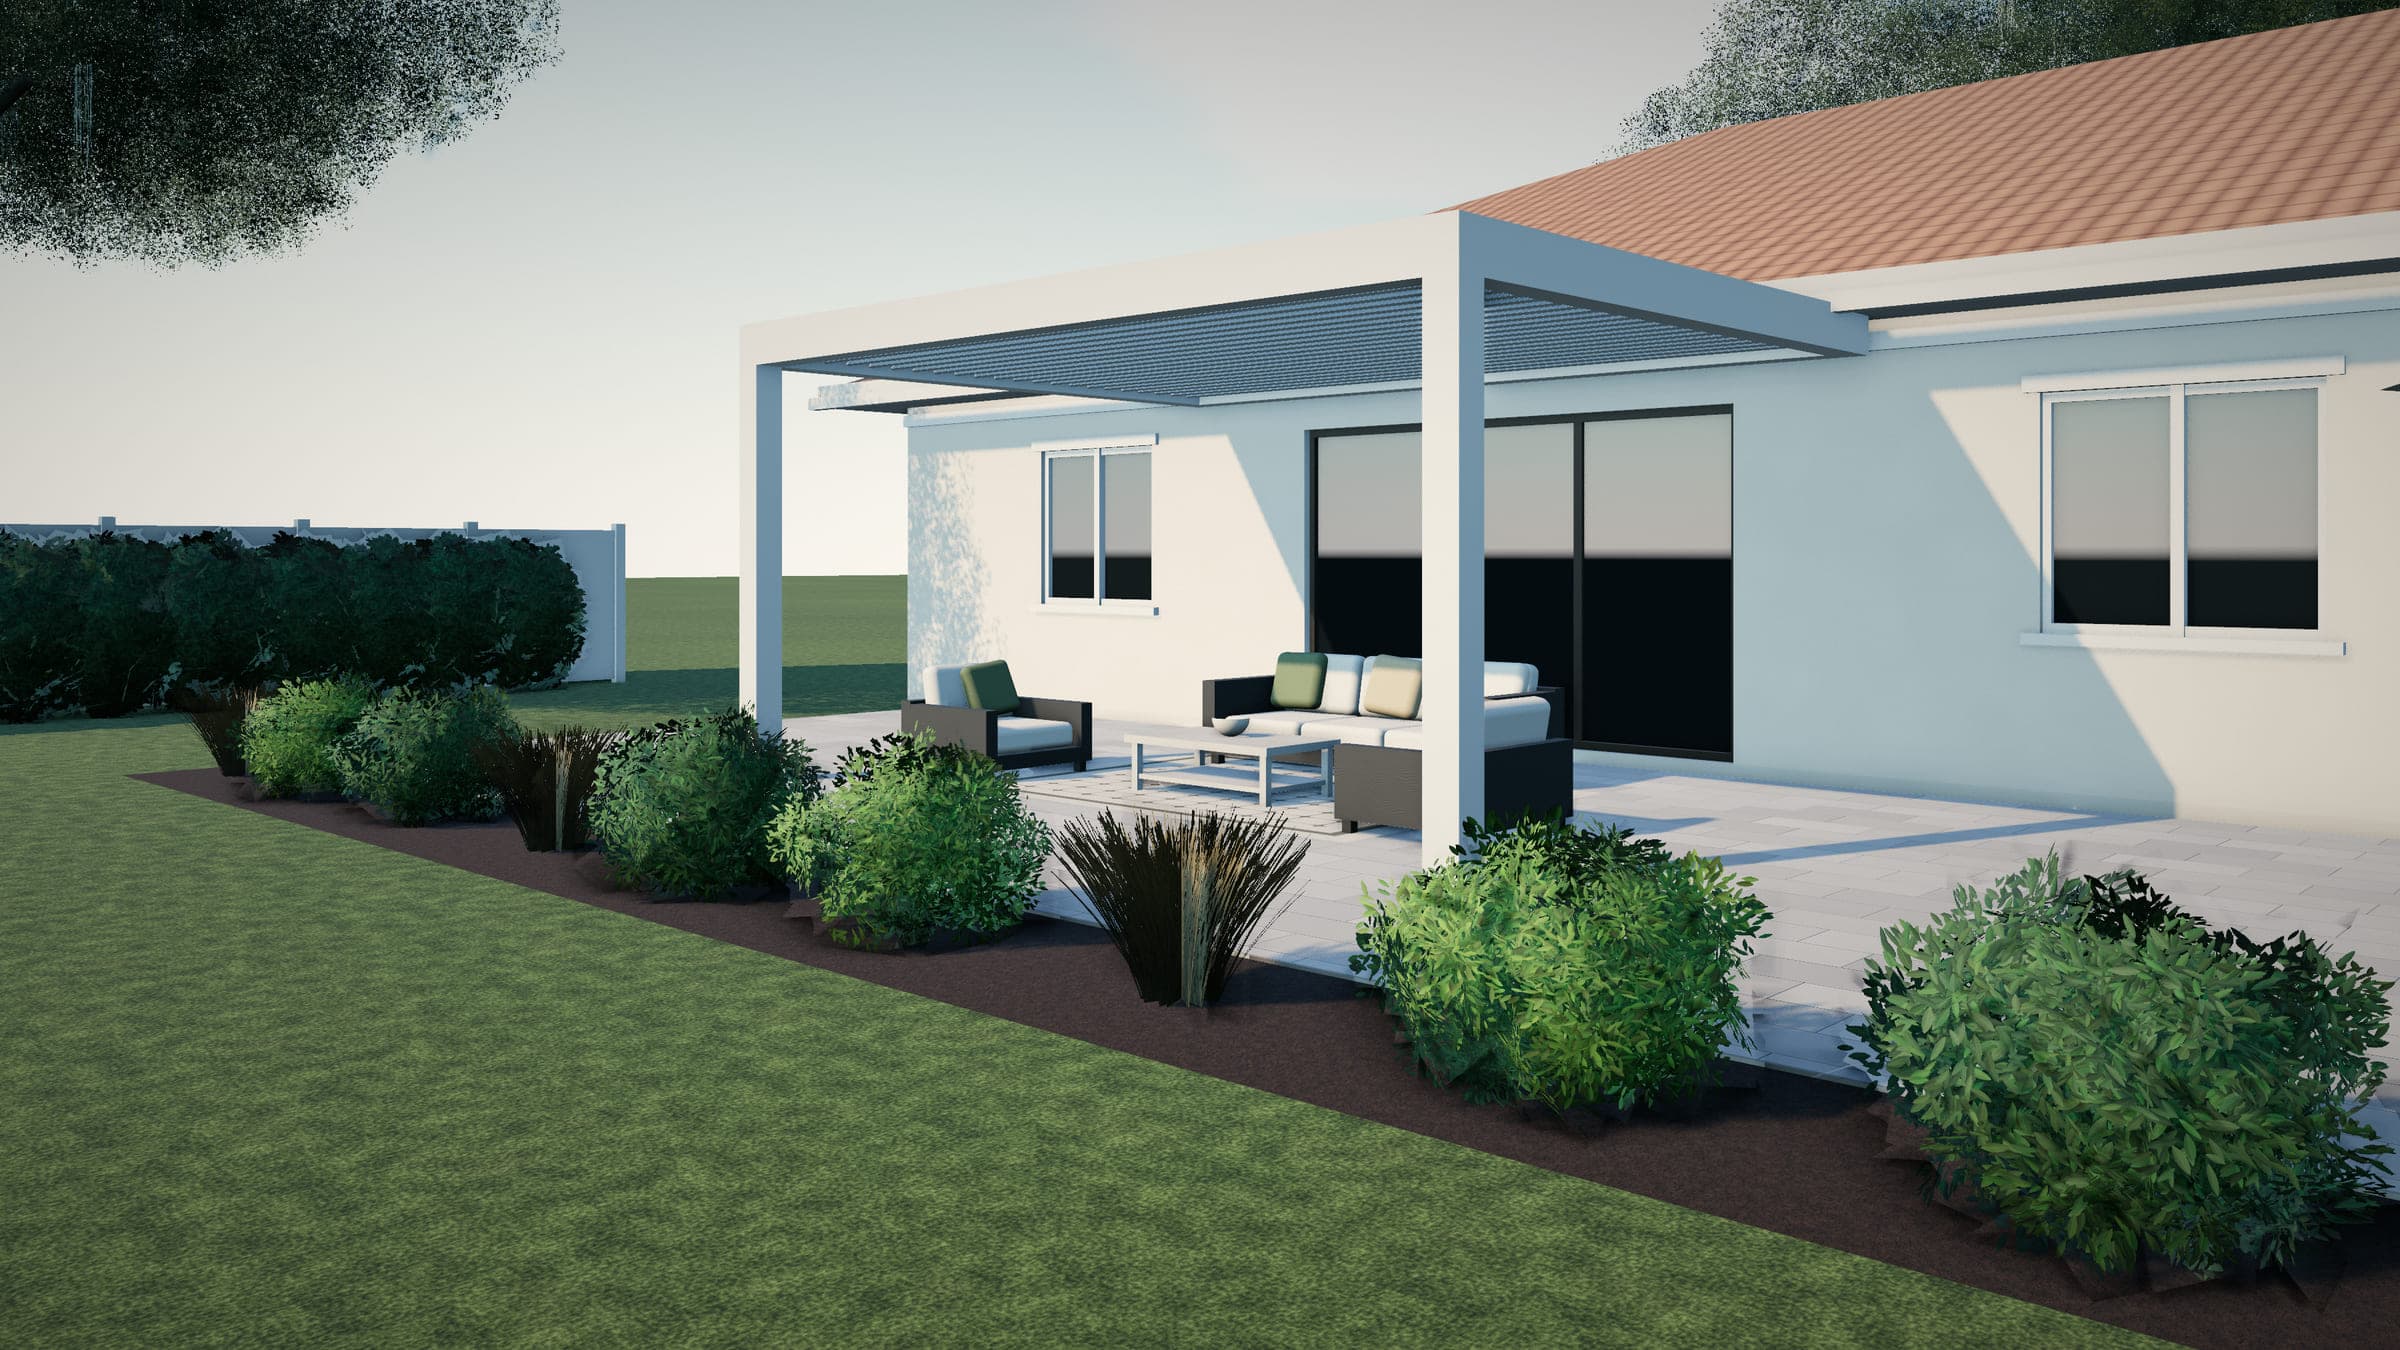
- Sun and shade. A west-facing patio gets strong afternoon sun; an east-facing one is shaded by the house late in the day. The planning guide explains how orientation affects comfort.
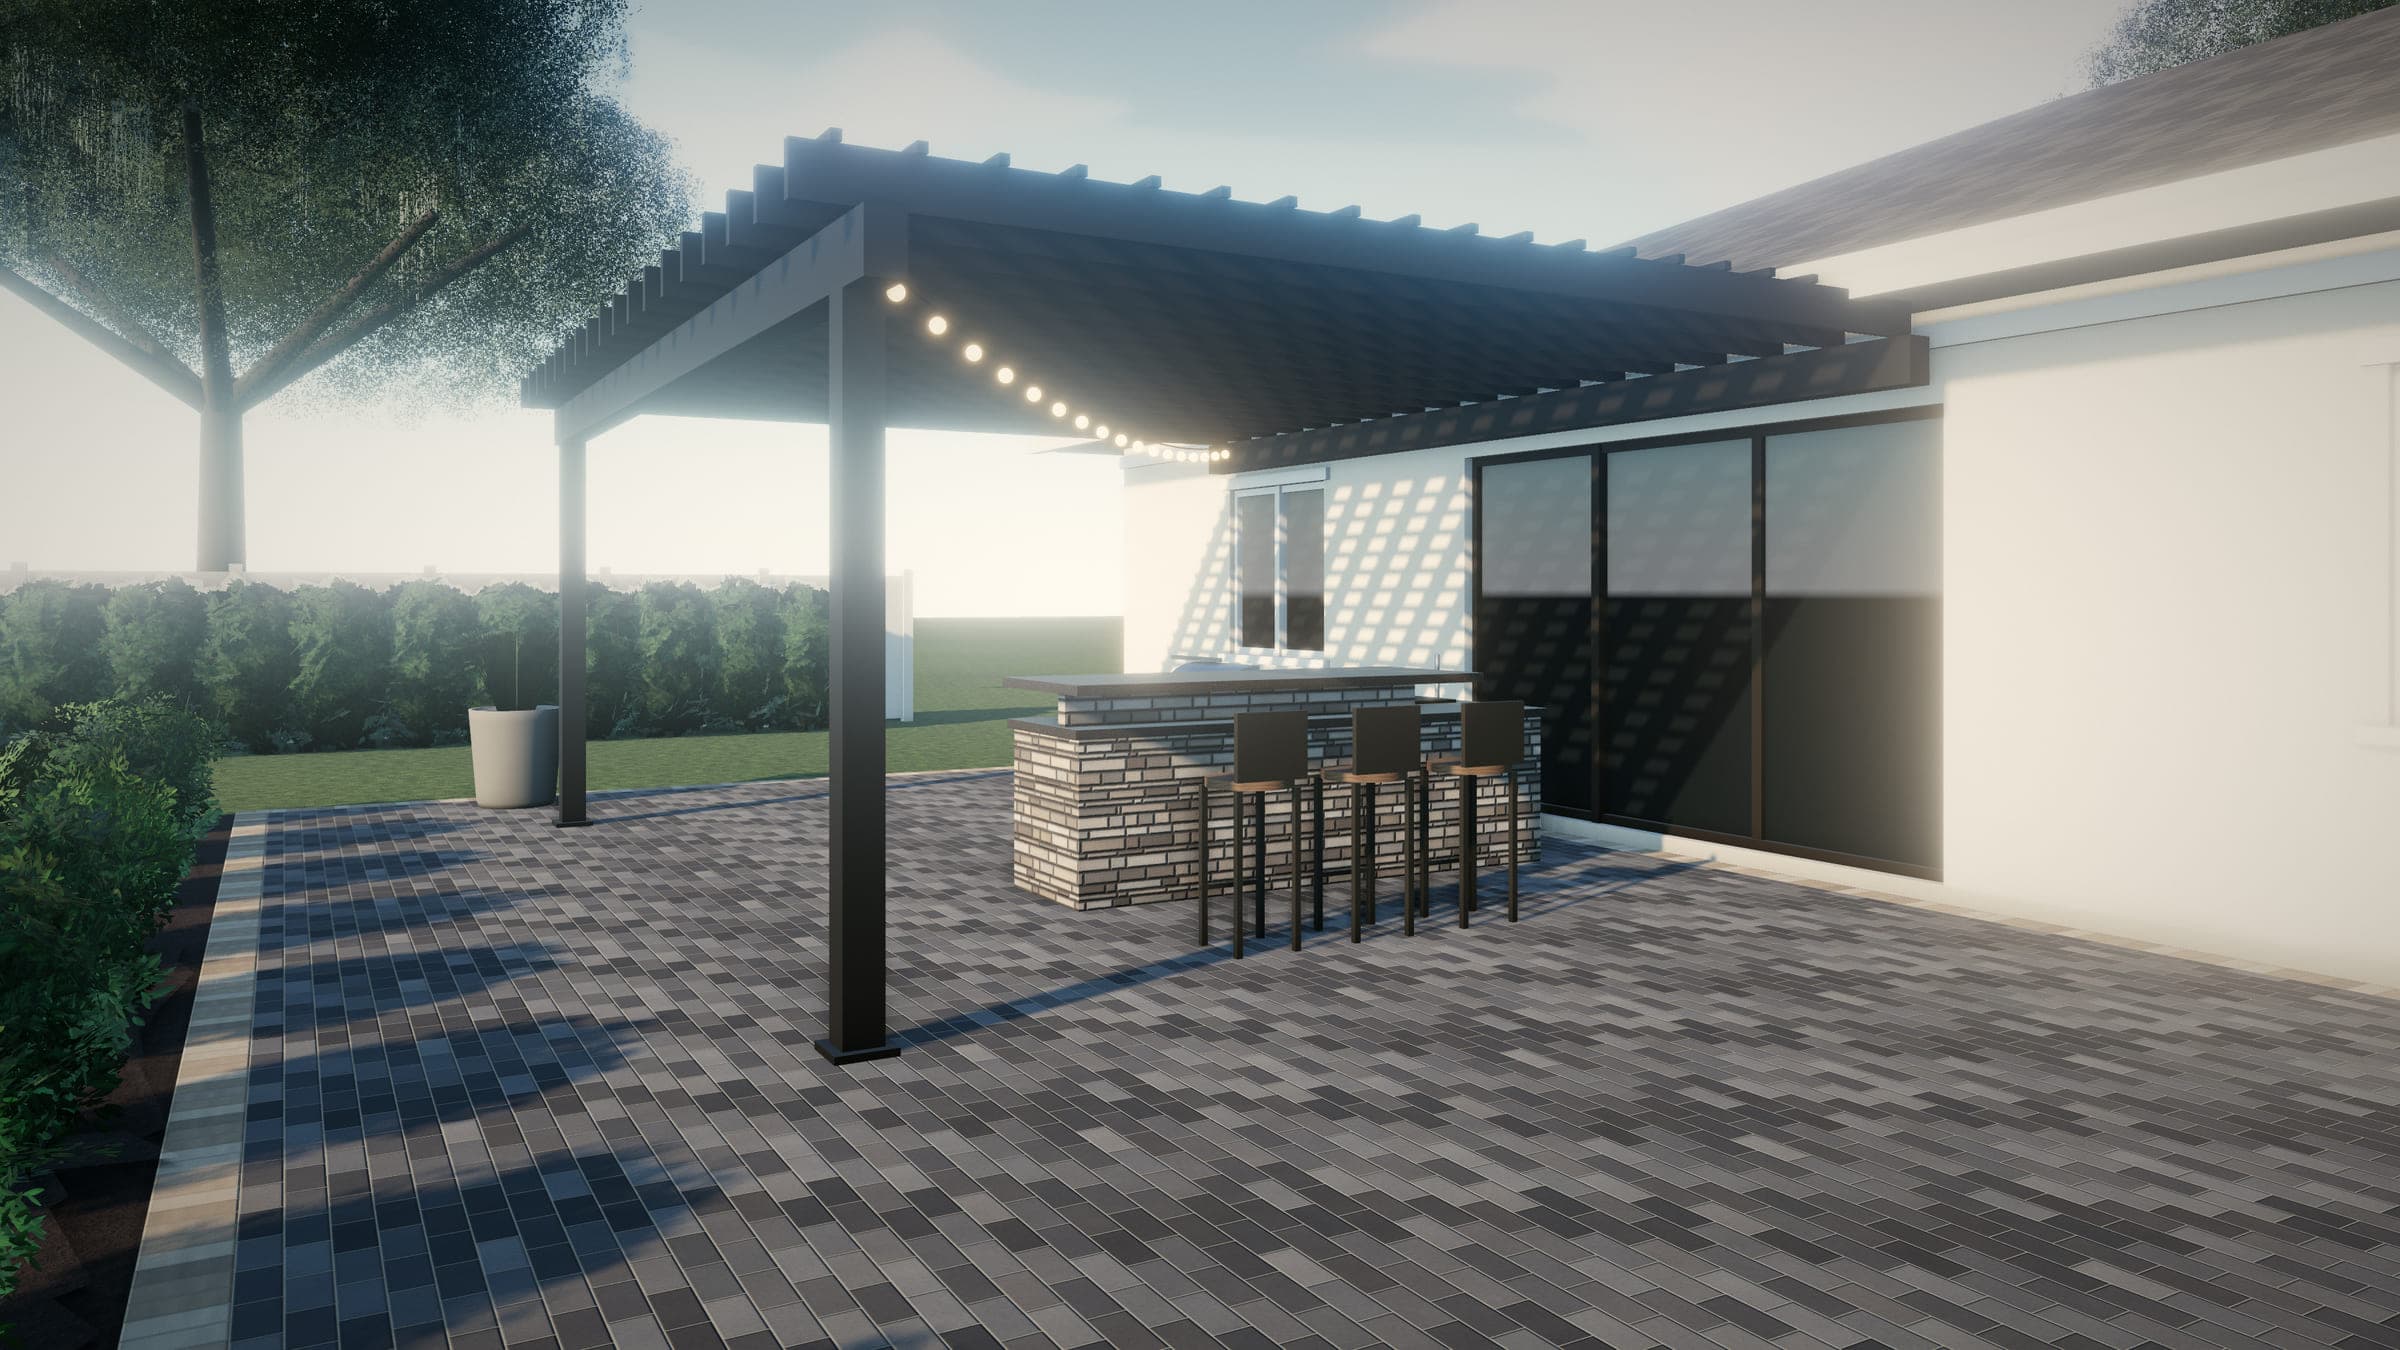
- What comes later. If a pergola, patio cover, fire feature, or outdoor kitchen might follow, plan footing locations, conduit, and gas sleeves now. Running a line under a finished patio costs far more than leaving a sleeve during construction.
Choosing the surface
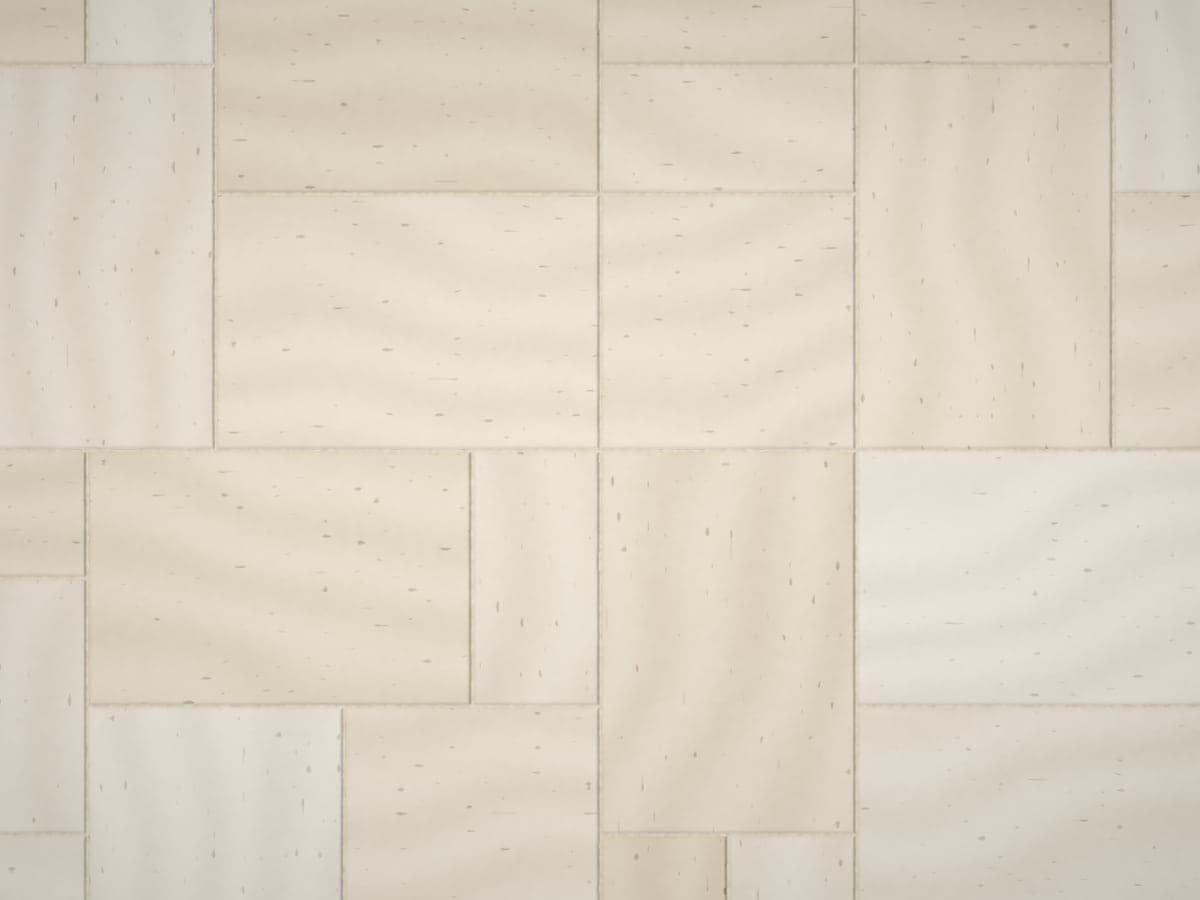
Concrete pavers are the most common patio surface in Central Florida: many shapes, colors, and finishes, with individual units that can be replaced. Porcelain pavers give a crisp, contemporary look and absorb very little water, but they rely on the right installation method. Natural stone such as travertine or shellstone brings natural variation and a classic look. The materials comparison goes deeper.
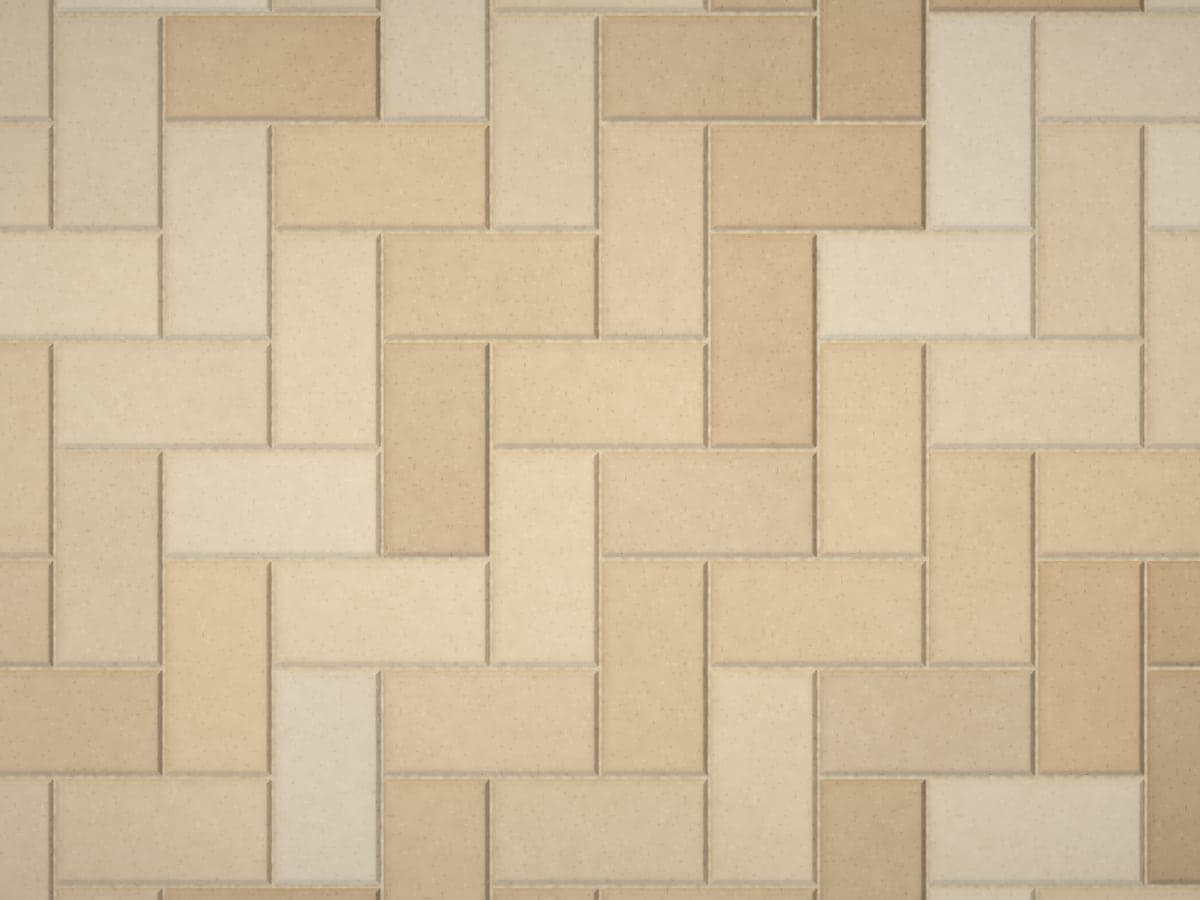
Pattern and border shape the character of the space as much as the color. A contrasting soldier-course border gives a clean edge; herringbone or running bond sets the rhythm. We bring samples so you can see them in your own light — colors shift noticeably between midday sun and late-afternoon shade.
What the installation involves
- 1. Pavers, with sand-filled joints that help lock the units together.
- 2. Bedding layer — a thin, screeded layer (typically coarse sand) that the pavers are set into.
- 3. Compacted base — its material and depth depend on the soil, drainage, and how the area will be used; driveways need more than patios.
- 4. Compacted subgrade — the existing soil, graded and compacted before the base goes in.
- 5. Edge restraint — keeps the field from spreading (for example a concrete edge under the border course, a commercial edging, or an adjoining structure).
- 6. A consistent slope away from the house so water sheds off the surface.
- 7. Finished height planned around the house slab, door thresholds, and any stucco weep screed.
Schematic and not to scale. Actual layers and depths are set for each site.
- Layout and locates. The outline is marked and public underground utilities are located. Florida law requires notifying Sunshine 811 at least two full business days before digging; private lines such as irrigation and landscape lighting aren't marked by 811 and are planned around separately.
- Excavation and grading. Old concrete or sod comes out, and the grade is set so the finished surface slopes away from the house and sits appropriately below door thresholds and any stucco weep screed.
- Base. A base is placed and compacted in layers. Its material and depth depend on the soil, drainage, and use — this is the part you never see and the part that decides how the patio ages.
- Edge restraint. A restraint along open edges keeps the field from spreading over time.
- Bedding, pavers, and cuts. Pavers are laid on a screeded bedding layer, with cuts made cleanly at edges and around obstacles.
- Joint sand and compaction. Joints are filled — with regular or polymeric sand — and the surface is compacted to lock the units together.
- Cleanup and walkthrough. You'll get care guidance, including what to expect from efflorescence on new concrete pavers.
What affects the cost
- Size and shape. Curves and angles add cuts and labor.
- What has to come out. Breaking up and hauling away old concrete is real work.
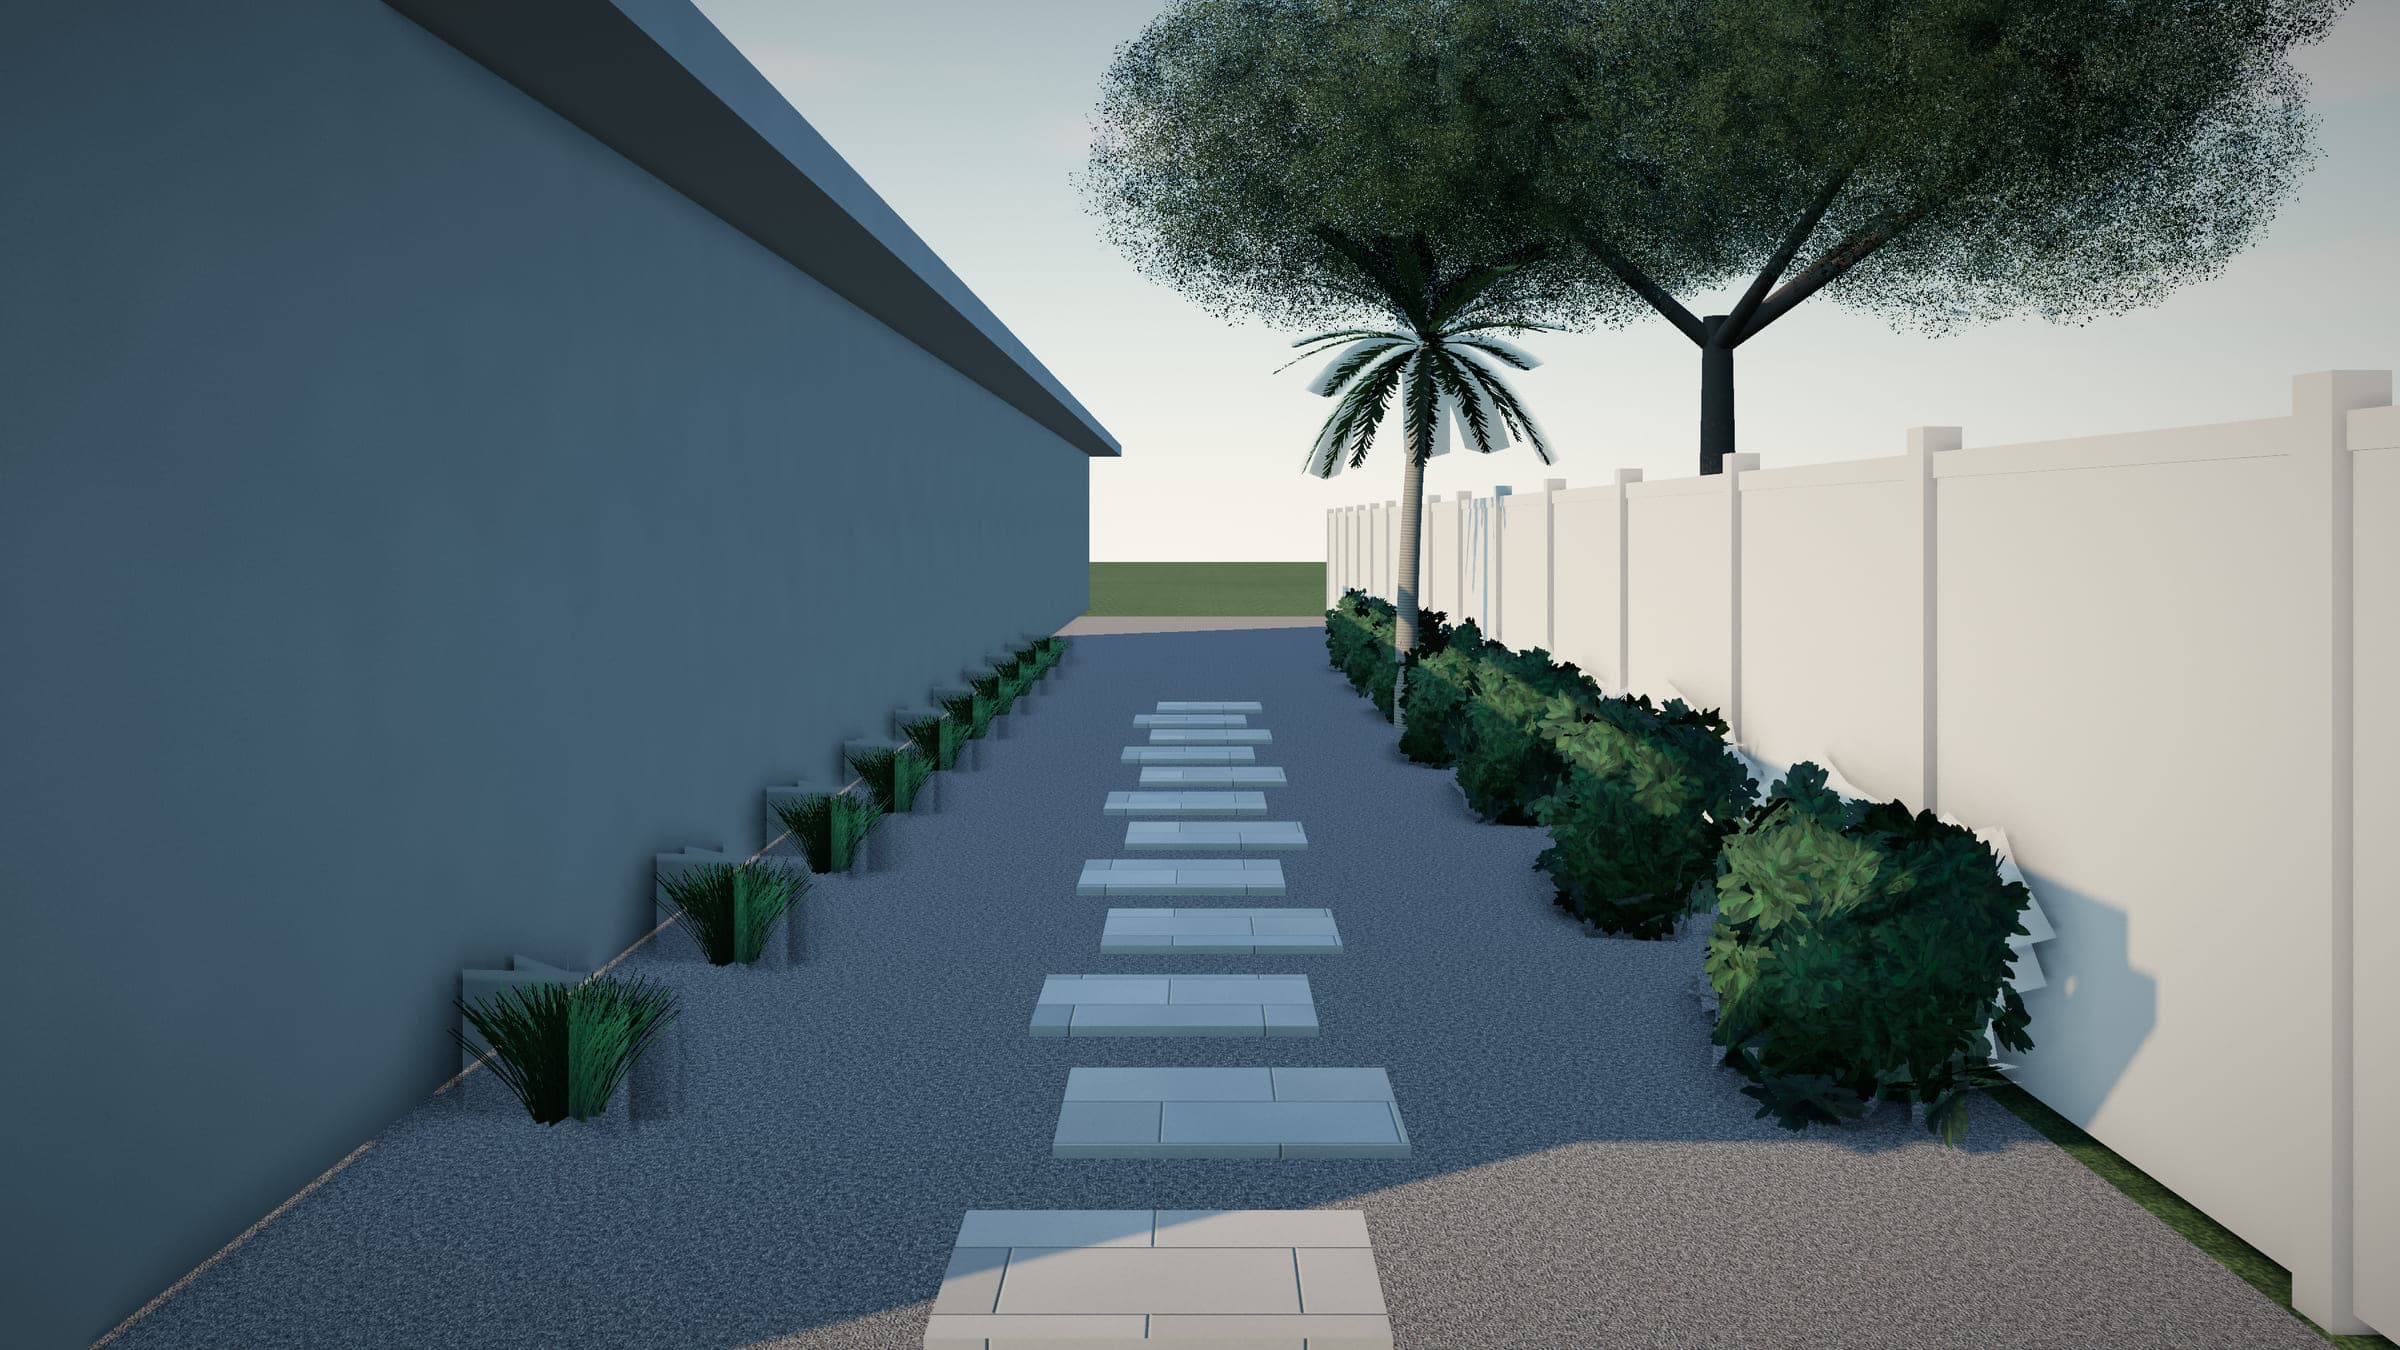
- Access. Narrow side yards can mean more hand work and smaller equipment.
- Soil and grade. Soft soils, low spots, and grade changes need more base work or steps.
- Material and pattern. Porcelain and natural stone often cost more to buy and install than standard concrete pavers; intricate patterns and borders add labor.
- Drainage and irrigation. Downspout extensions, drains, and moving sprinkler heads add to the scope.
The cost guide explains each factor and how to compare proposals.
Before you request a consultation
It helps to know roughly how you want to use the space, whether your HOA reviews exterior changes, and where water goes during a heavy storm today. A few phone photos of the area — especially after rain — make the first conversation more useful. Then request a consultation, and we'll follow up to talk it through.