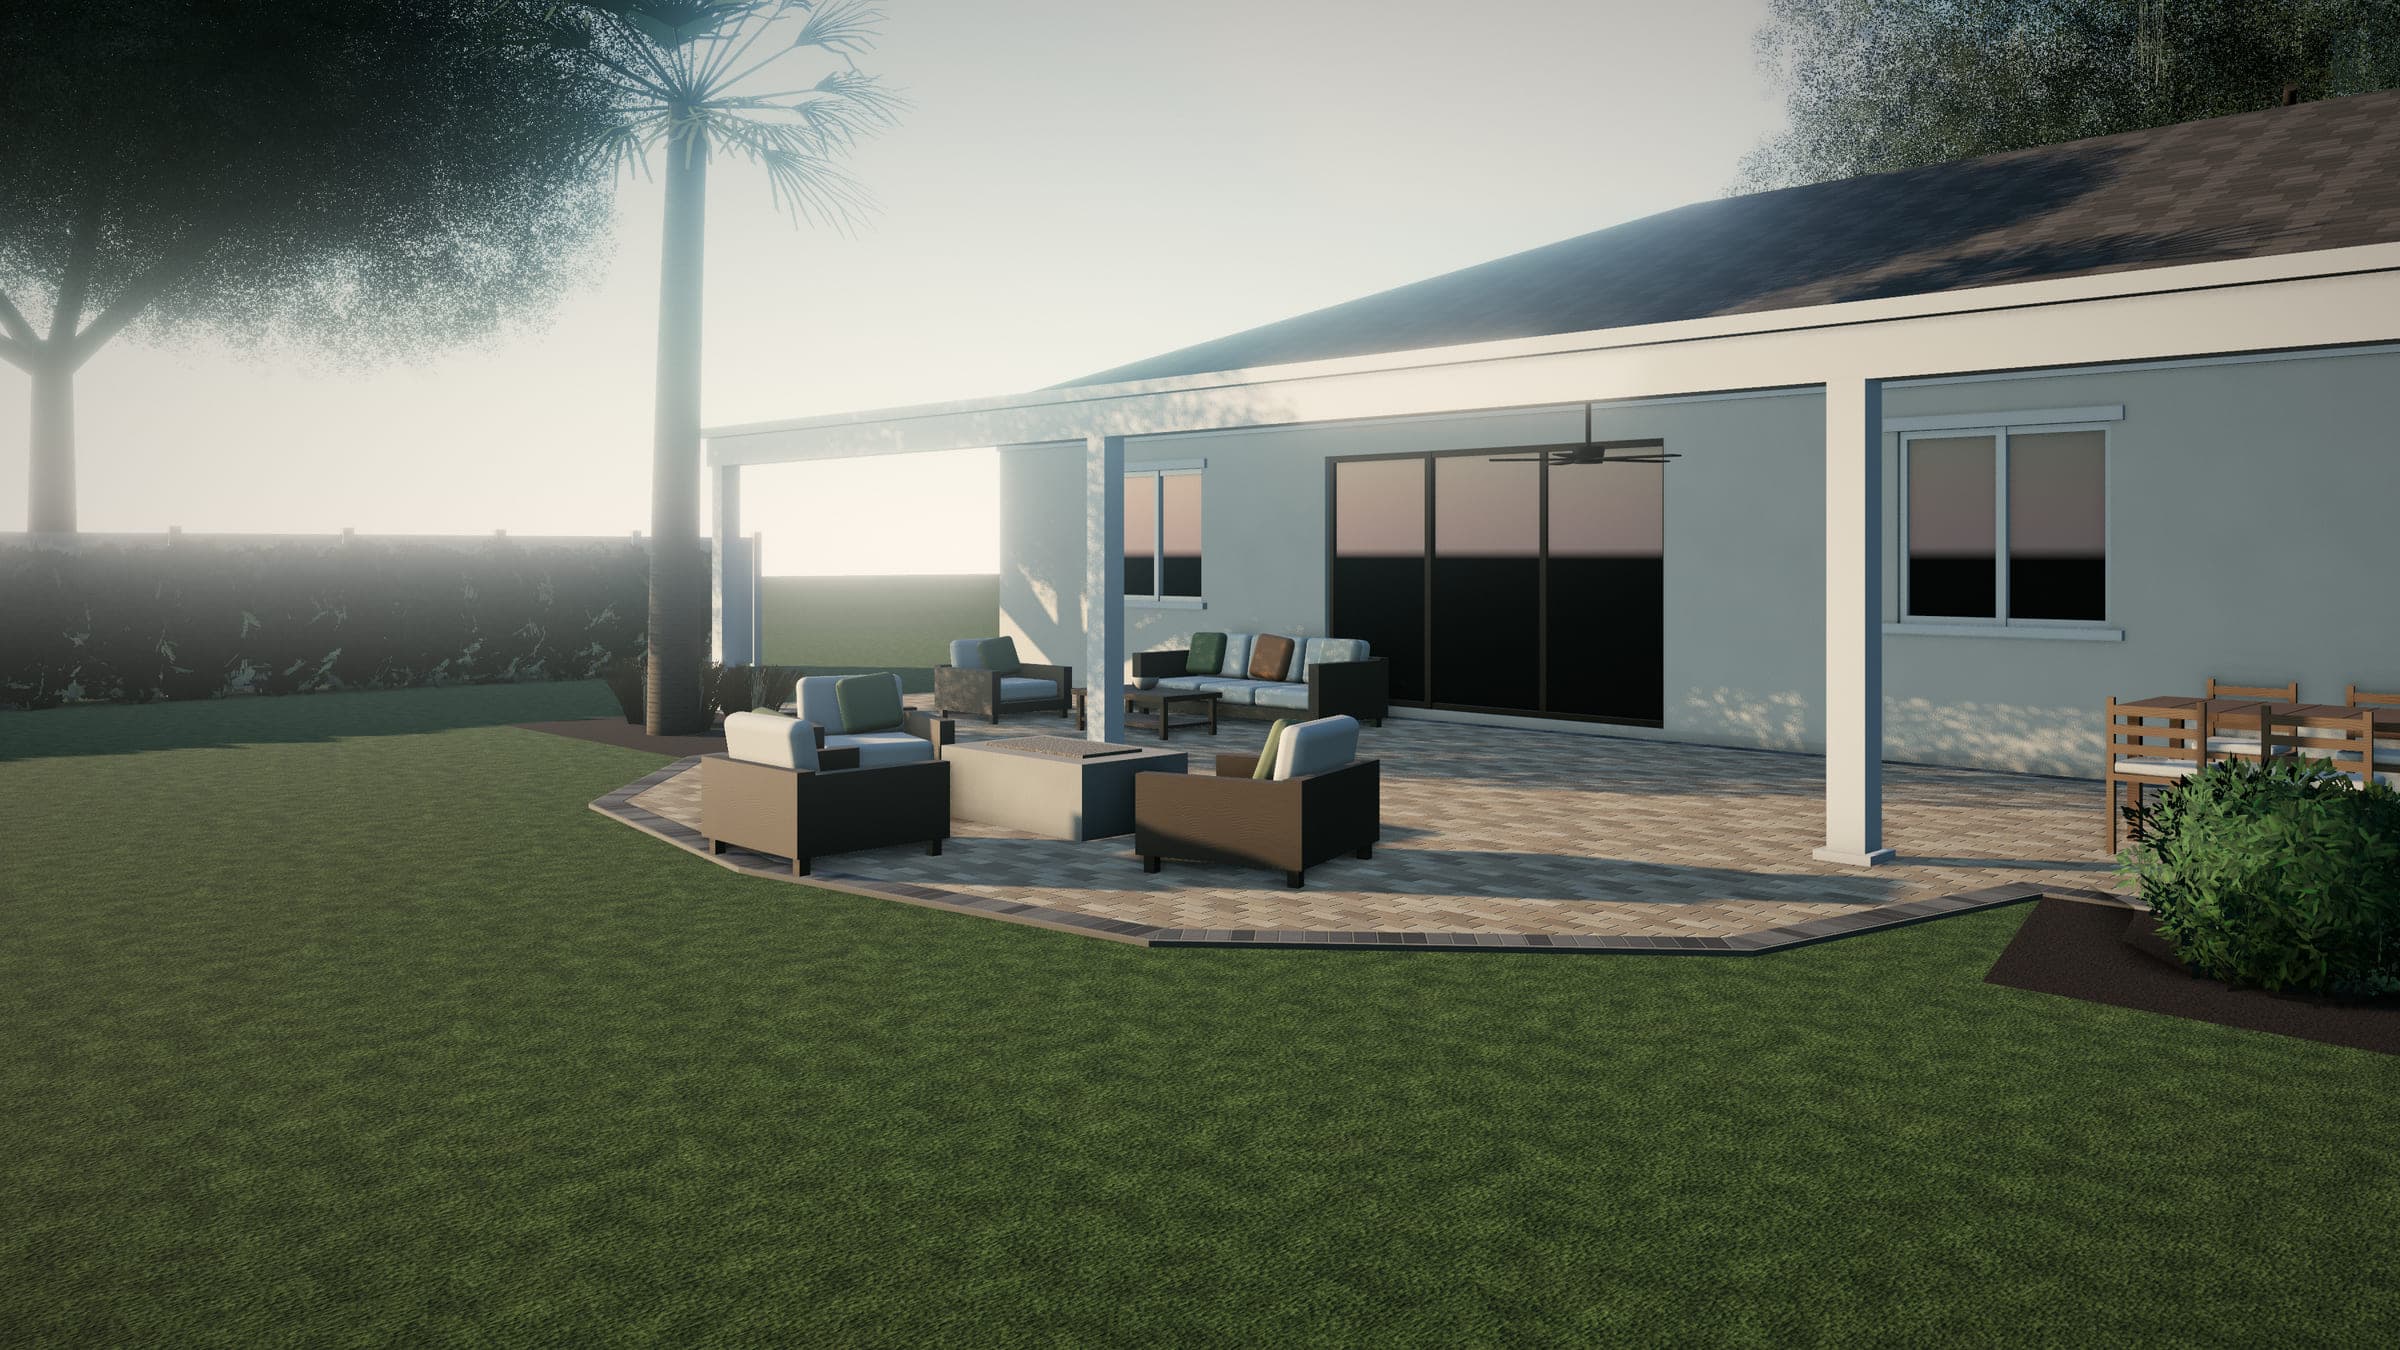
1. Start the conversation
Call or send the short form. We'll ask what you're hoping to do, where the home is, and a little about the space. Photos help — especially of problem areas and of the yard after heavy rain. If it sounds like a good fit, we'll arrange a time to see the space.
Sending the form doesn't book anything. Nothing is scheduled until you confirm a time.
2. Site visit and measurements
At the visit we look at more than square footage:
- How you'll use the space — furniture, traffic, shade, and future plans
- Grades and drainage — slopes, low spots, downspouts, and where water goes now
- Existing surfaces — whether an old slab should stay or go
- Access — how equipment and materials reach the work area
- Utilities and trees — lines to plan around, roots to protect
- Approvals — HOA review, historic districts, and whether the address is in a city or the county
3. Design and material samples
You'll see layout options and physical samples of the materials that suit the space and budget. We recommend looking at samples outdoors, wet and dry, in the light your space actually gets. For structures and kitchens, we'll talk through what engineering, permits, and licensed trades the project will need.
4. A written proposal
The proposal spells out the parts you can't see as clearly as the parts you can:
- What's removed and hauled away
- The base: material, depth, and compaction
- Edge restraint, pavers, pattern, border, and joint material
- Drainage, irrigation changes, and conduit or sleeves
- Who handles HOA submittals, permits, and inspections
- Who performs any electrical, gas, plumbing, or engineering work
- What's optional, such as sealing
- The expected sequence, payment schedule, and how changes are handled
Take your time, ask questions, and compare it with other proposals. The cost guide has a comparison checklist.
5. Approvals
Where they apply, approvals come before work: HOA architectural review first, then permits. Review times vary by community and jurisdiction, so we build them into the plan instead of promising a start date that ignores them.
6. The build
- 1. Pavers, with sand-filled joints that help lock the units together.
- 2. Bedding layer — a thin, screeded layer (typically coarse sand) that the pavers are set into.
- 3. Compacted base — its material and depth depend on the soil, drainage, and how the area will be used; driveways need more than patios.
- 4. Compacted subgrade — the existing soil, graded and compacted before the base goes in.
- 5. Edge restraint — keeps the field from spreading (for example a concrete edge under the border course, a commercial edging, or an adjoining structure).
- 6. A consistent slope away from the house so water sheds off the surface.
- 7. Finished height planned around the house slab, door thresholds, and any stucco weep screed.
Schematic and not to scale. Actual layers and depths are set for each site.
A typical sequence:
- Locates. Public utilities are marked through Sunshine 811 (Florida law requires at least two full business days' notice), and private lines are identified.
- Demolition and excavation. Old surfaces come out; grades are set.
- Underground work. Drain lines, conduit, gas sleeves, and irrigation changes go in, with licensed trades where required.
- Footings. For pergolas, covers, or kitchens.
- Base and pavers. The base is compacted in layers, edges are set, pavers are laid, and joints are filled and compacted.
- Structures and finishes. Shade structures, kitchens, and final connections.
Weather matters in Central Florida — summer storms can pause excavation and base work, and the base is never built on saturated ground. We'll keep you informed when the schedule shifts.
7. Walkthrough and care
We walk the finished project with you, review how to care for it, and explain what's normal — such as efflorescence on new concrete pavers — and what isn't. If sealing is part of the plan, it usually happens after a waiting period.
Ready to start?
Request a consultation and tell us about your space.